Description
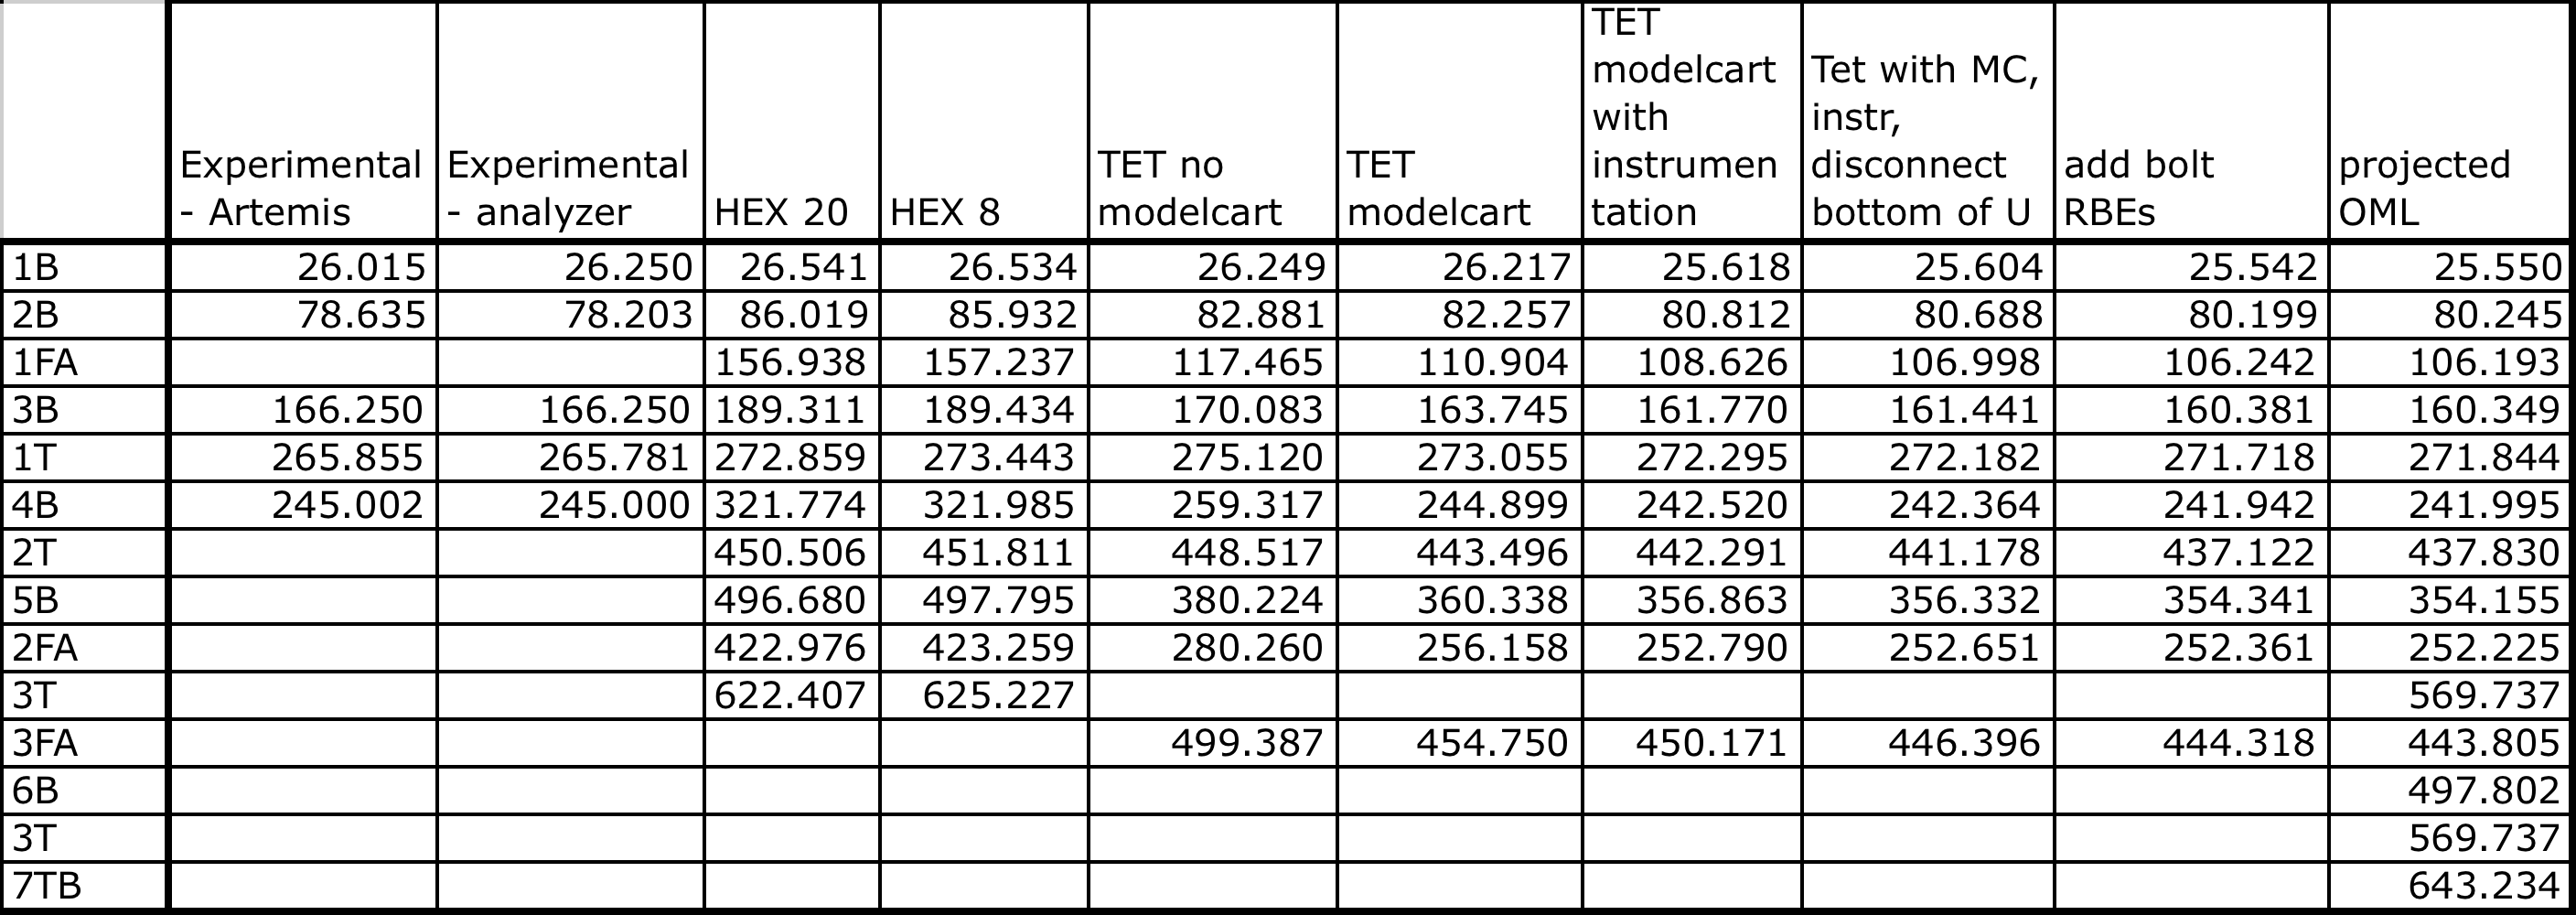
Note Modeshapes aren't very descriptive for higher modes. There is coupling between them so this is just an approximate naming scheme. See modeshape plots for more details.
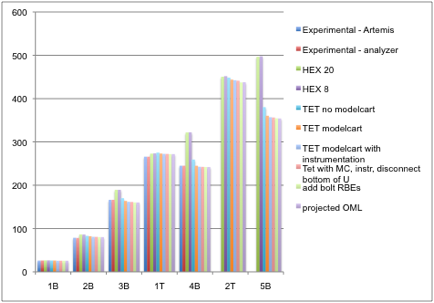
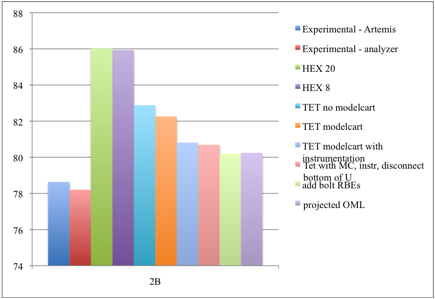 PDF files are provided with figures of the modeshapes for selected FEM
TET10 model (Nov 2011) (CASE 10)
Hex8 Modeshapes (CASE 4)
TET10 no modelcart (CASE 5)
| HIRENASD TET model with modelcart - new OML | HIRENASD HEX 8 Wing only model |
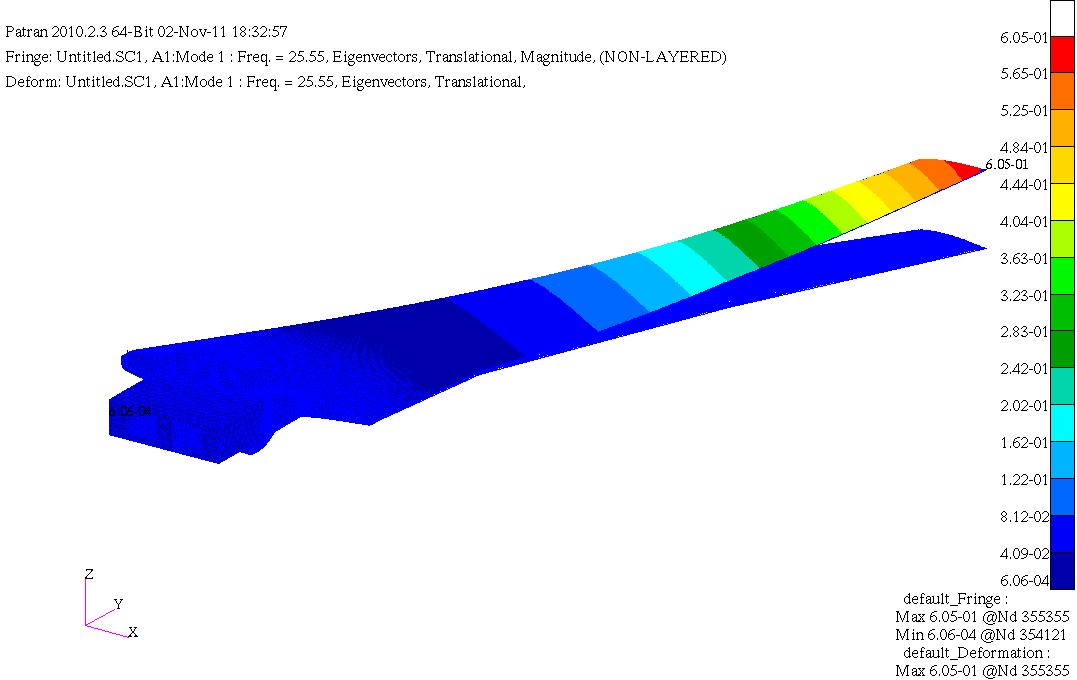 Mode 1 |
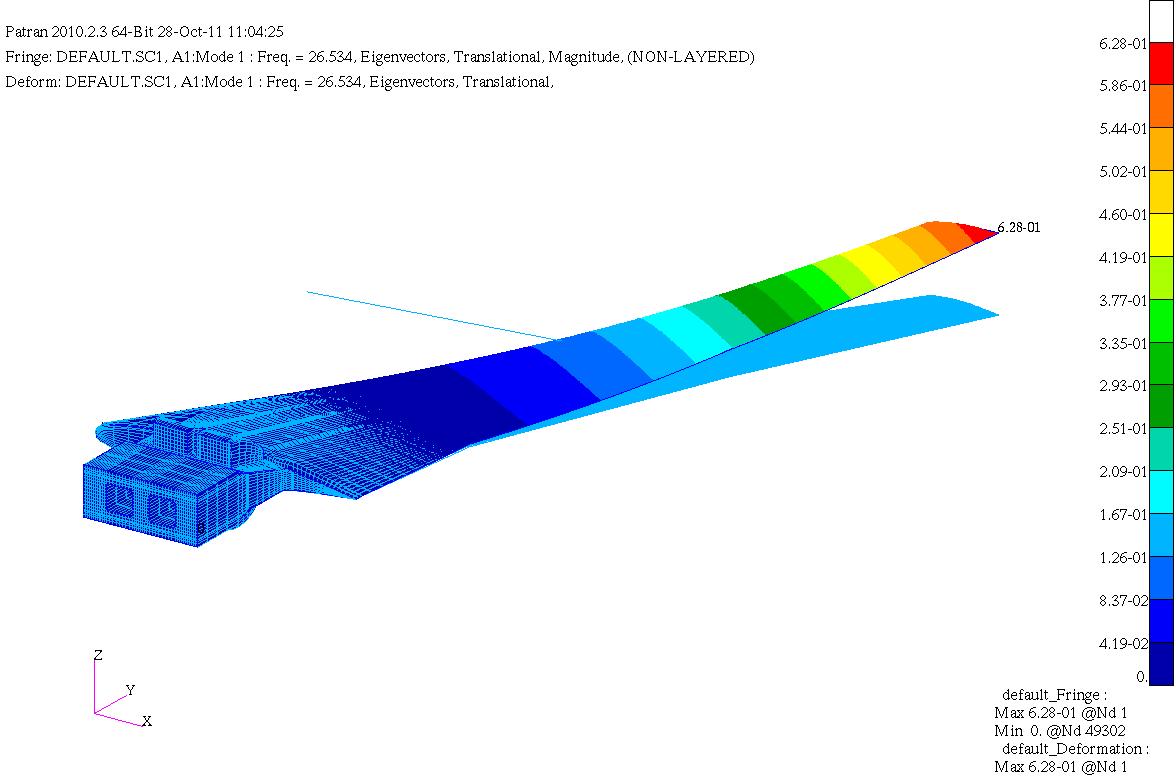 Mode 1 |
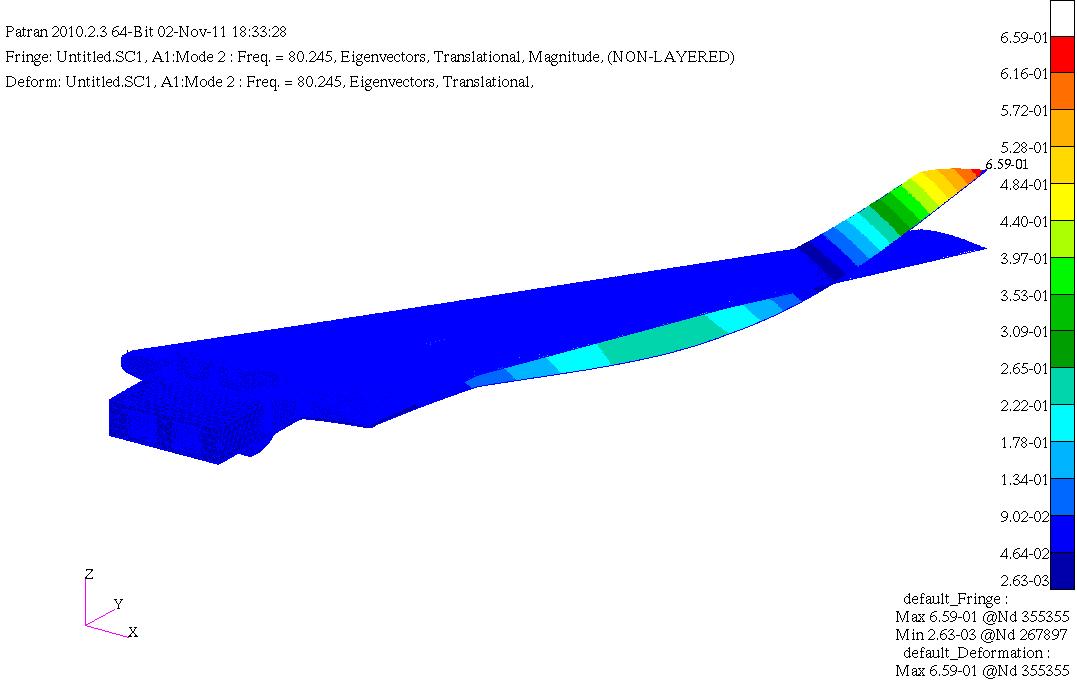
Mode 2 |

Mode 2 |
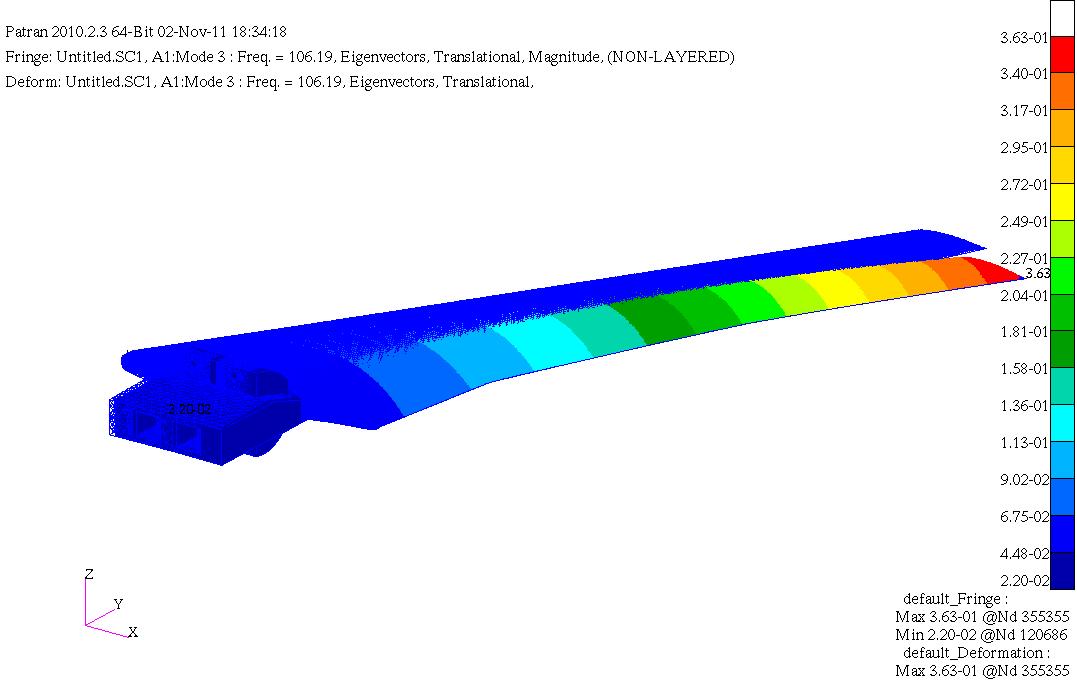
Mode 3 |
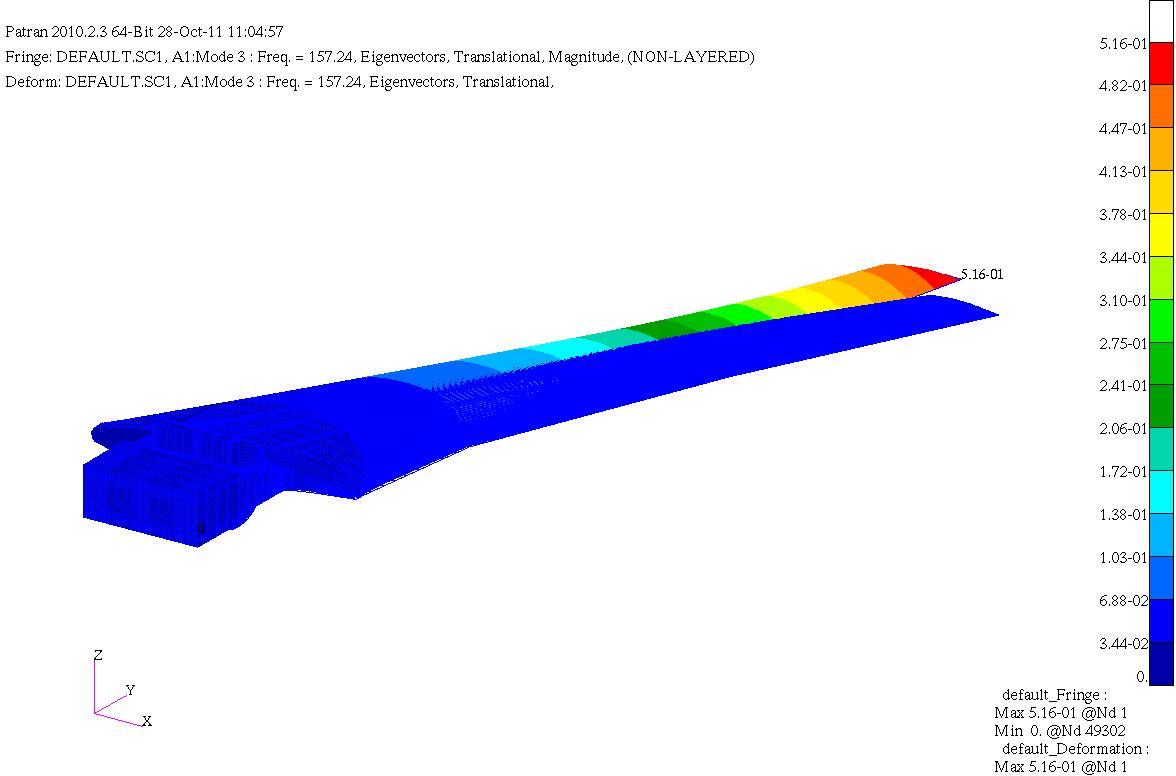
Mode 3 |
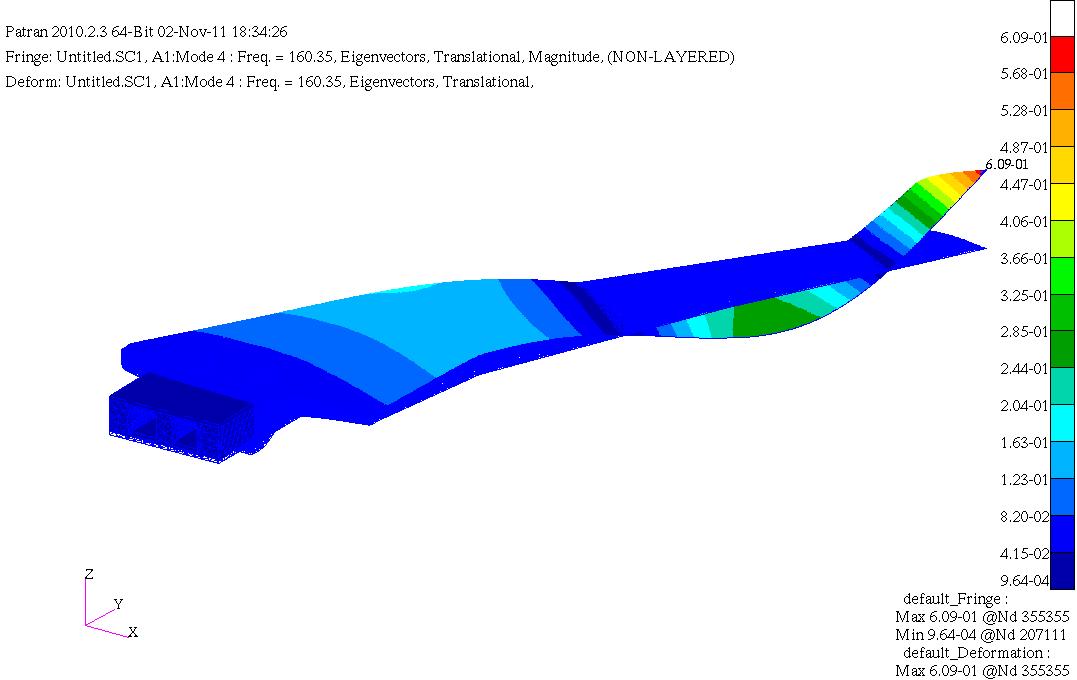
Mode 4 |
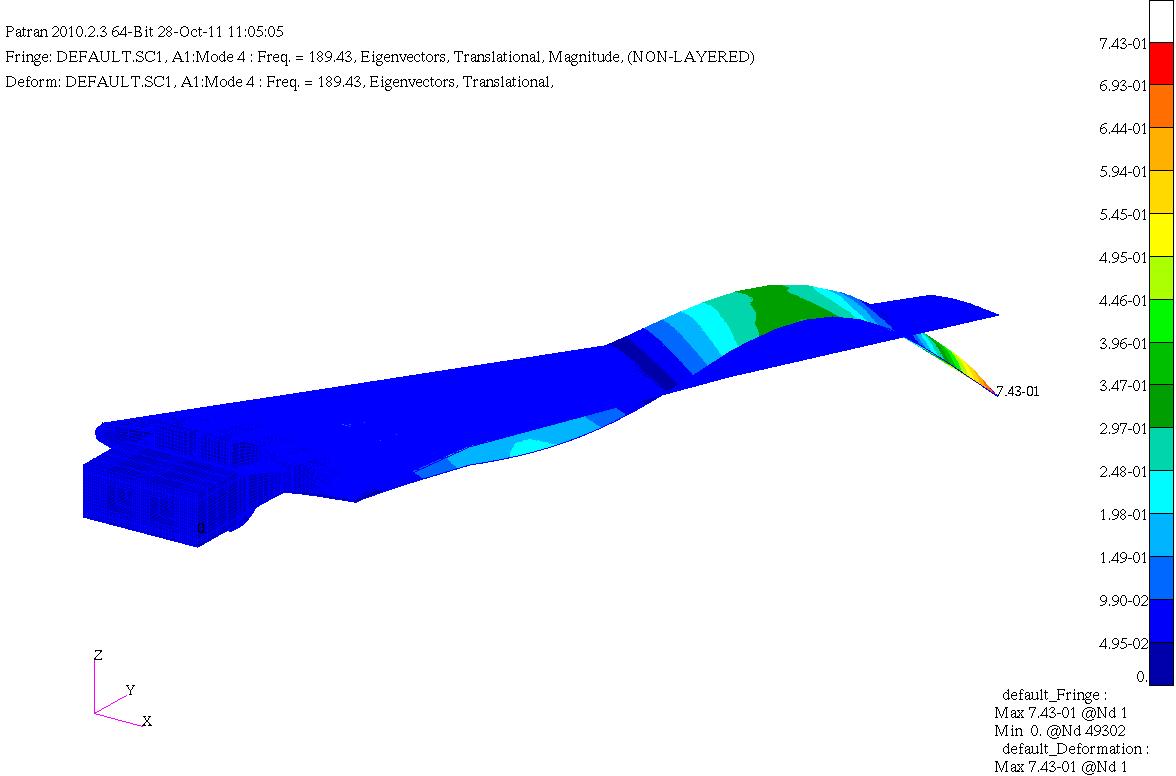
Mode 4 |
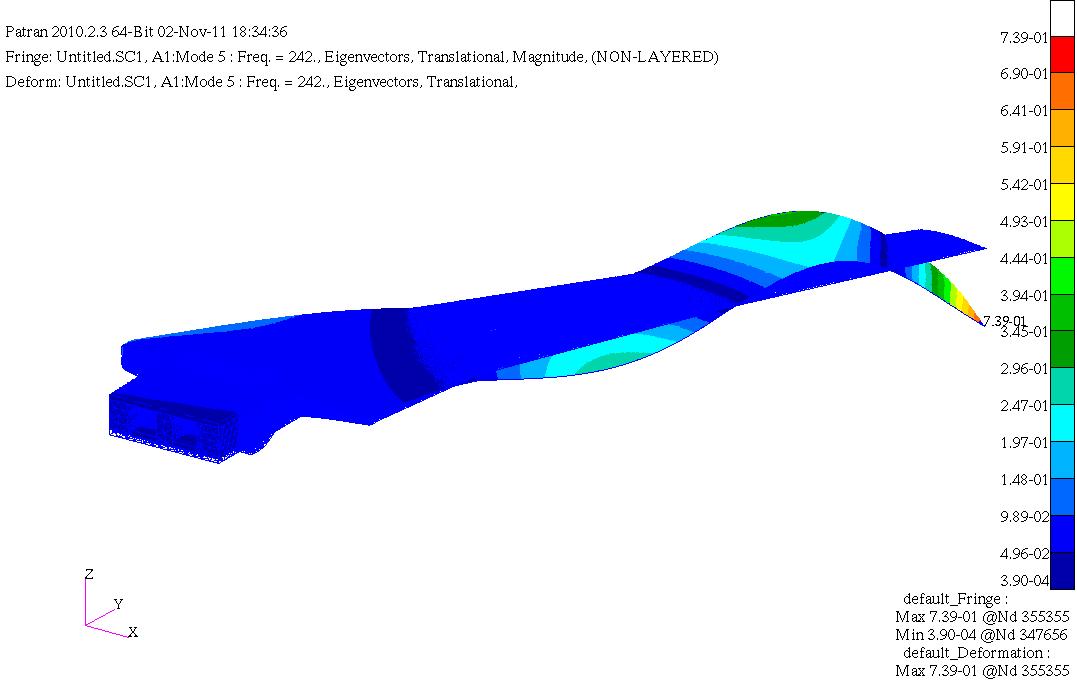
Mode 5 |
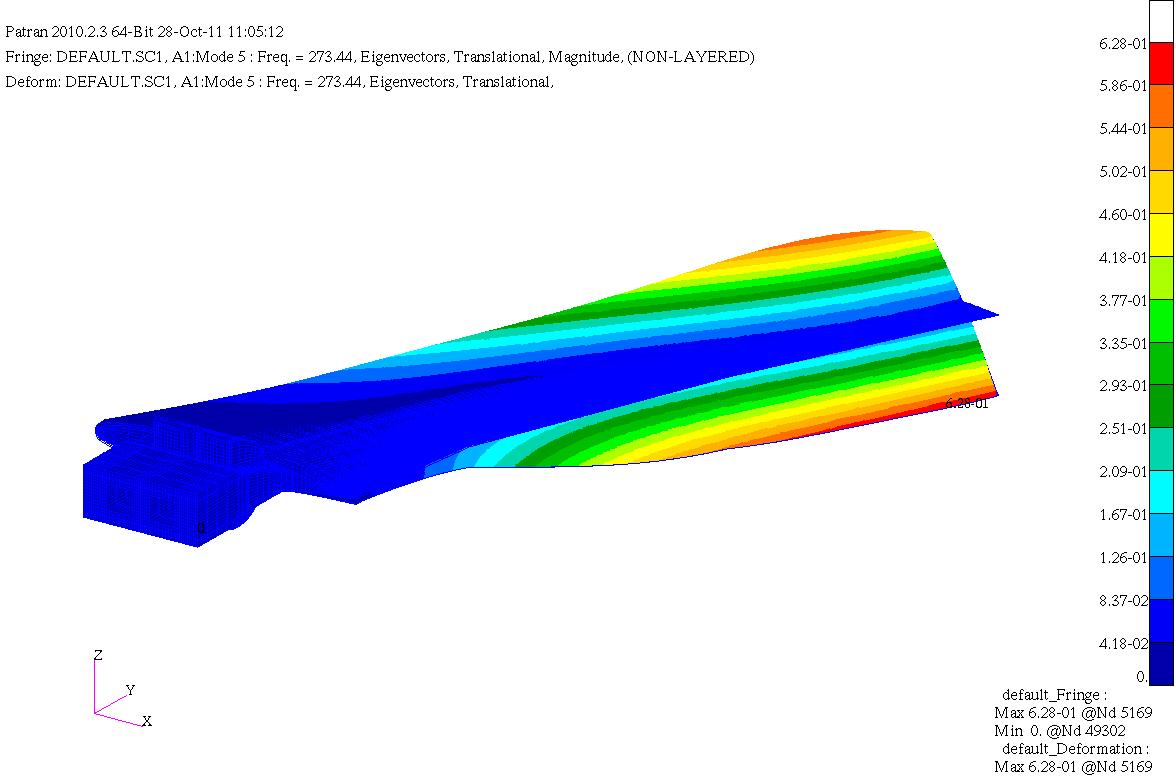
Mode 5 |
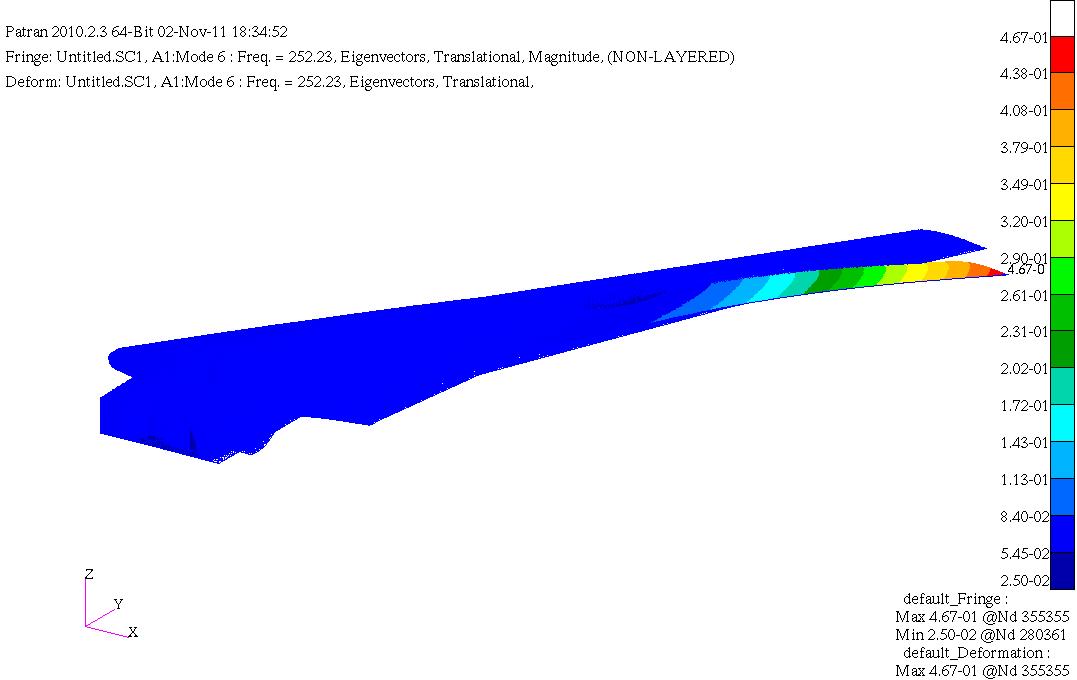
Mode 6 |
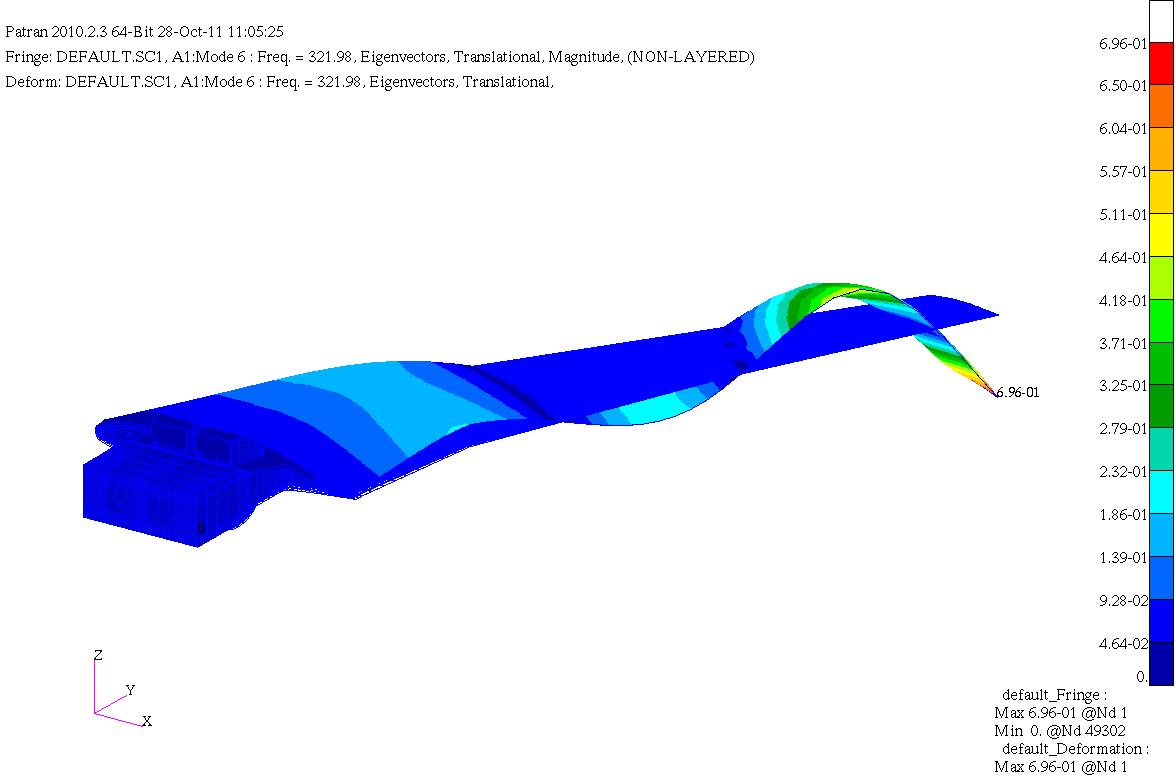
Mode 6 |
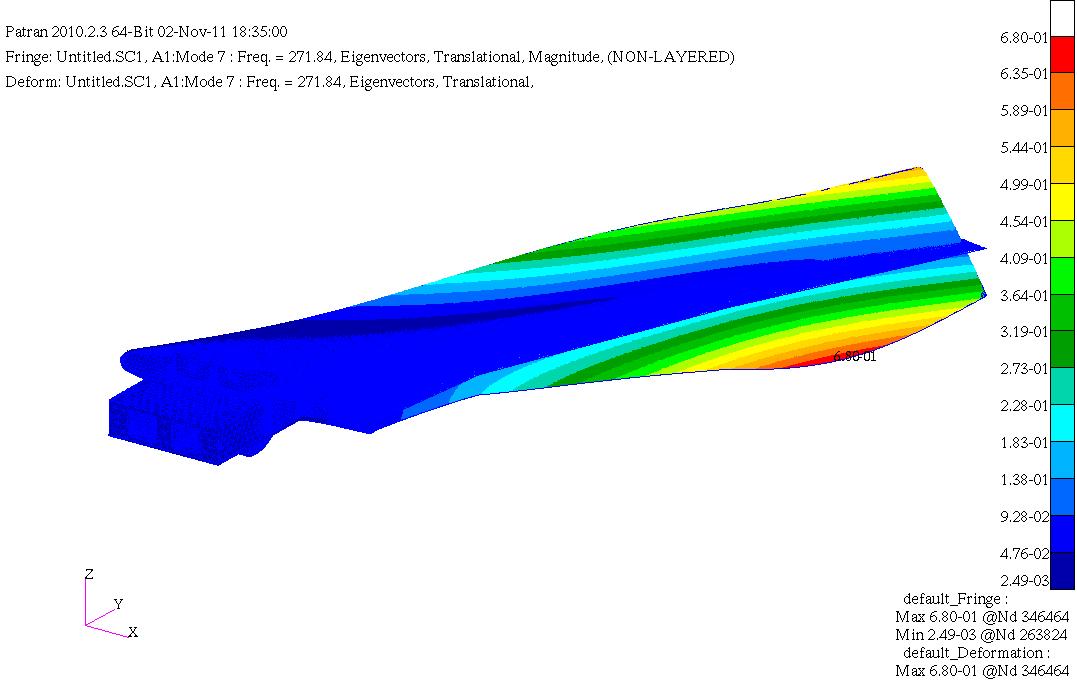
Mode 7 |
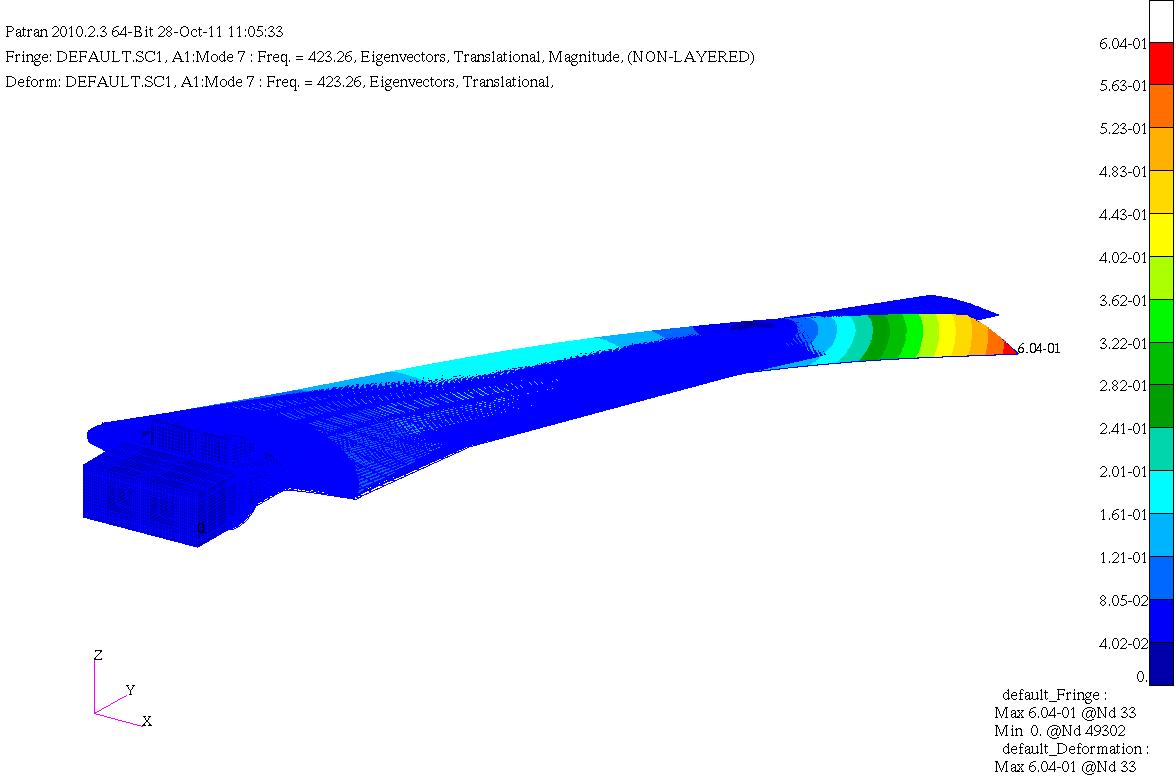
Mode 7 |
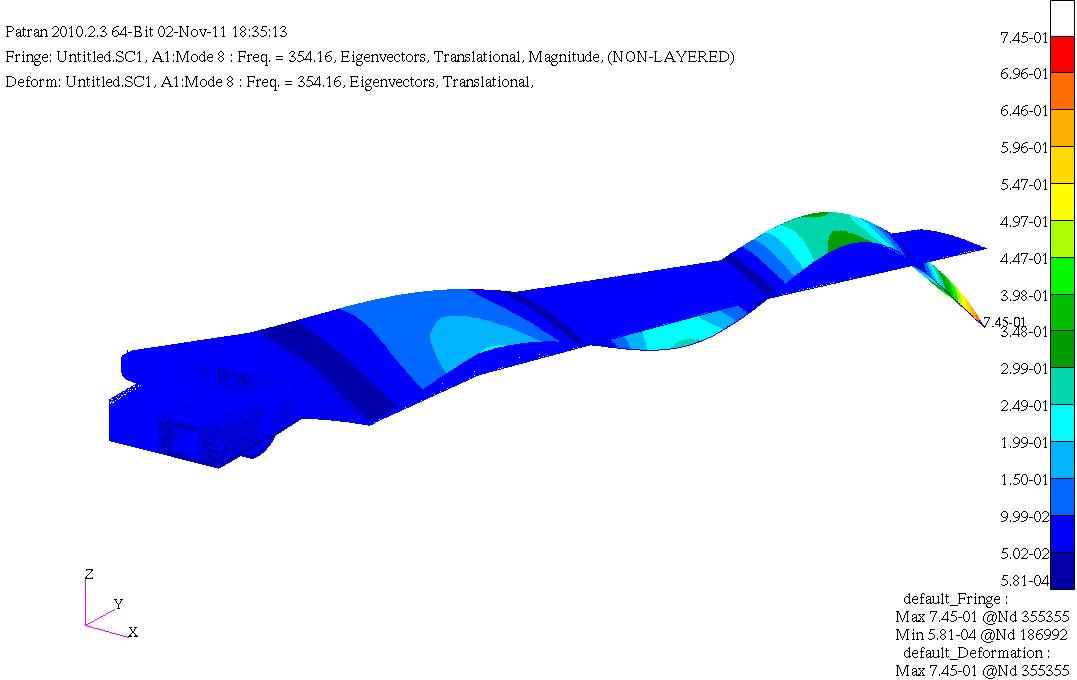
Mode 8 |
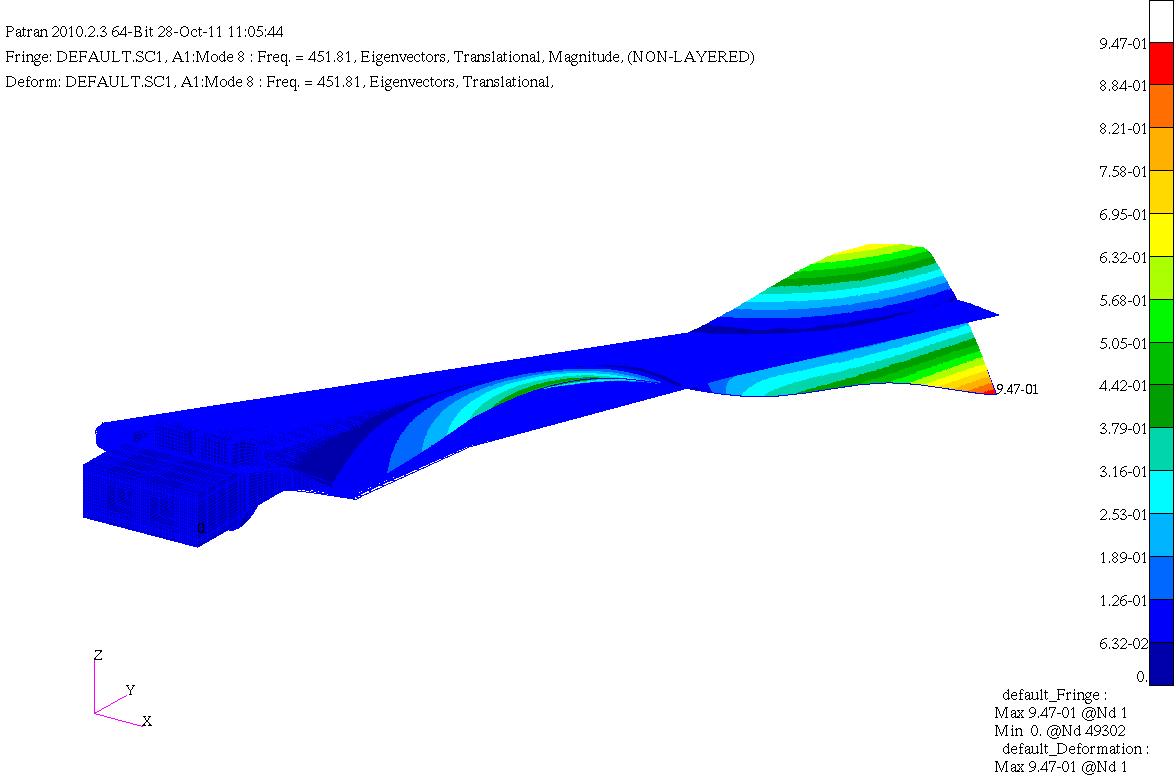
Mode 8 |
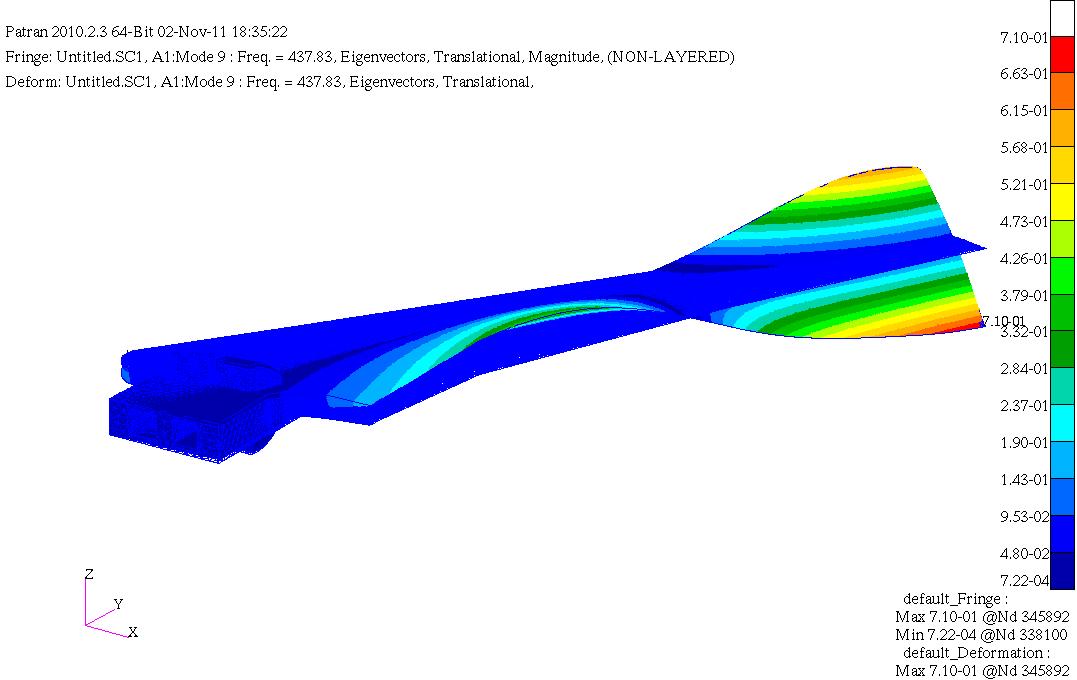
Mode 9 | 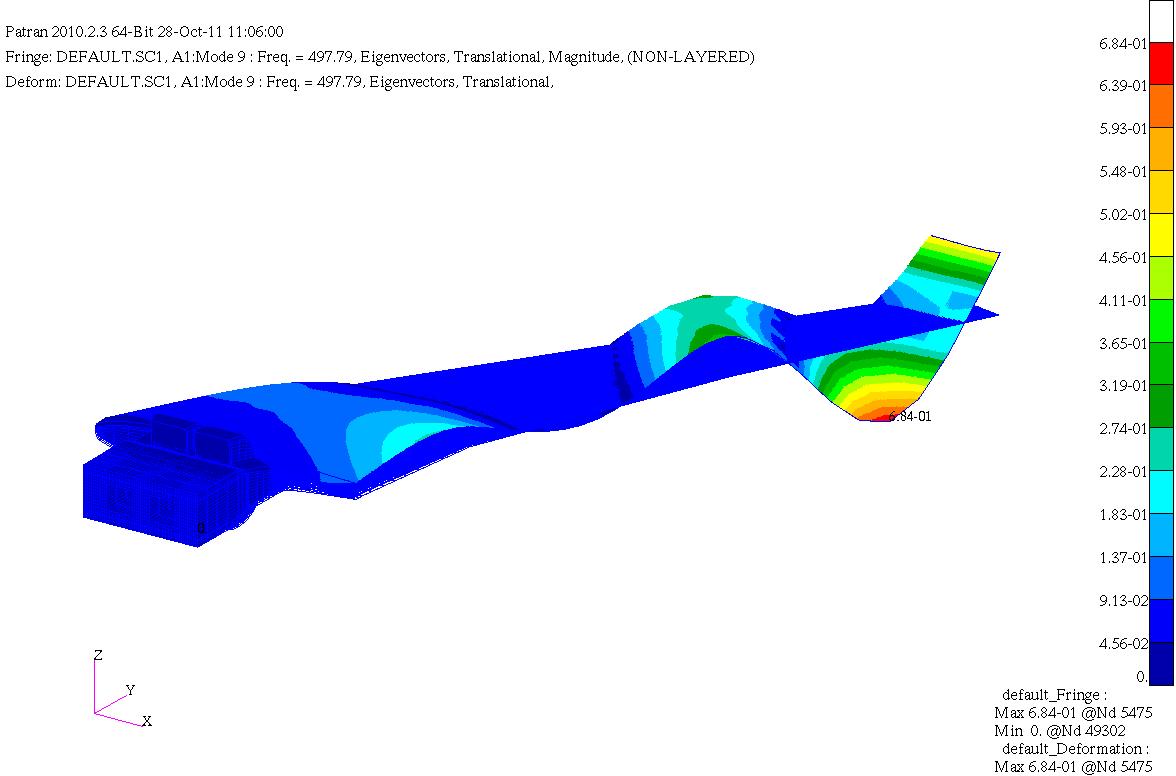
Mode 9 |
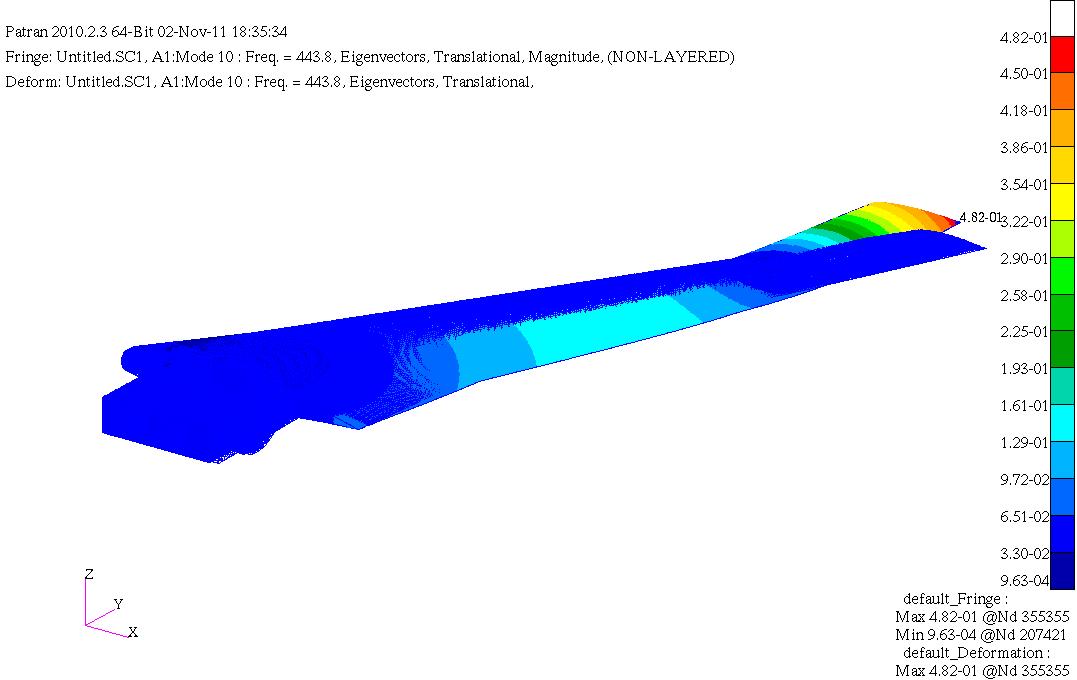
Mode 10 |
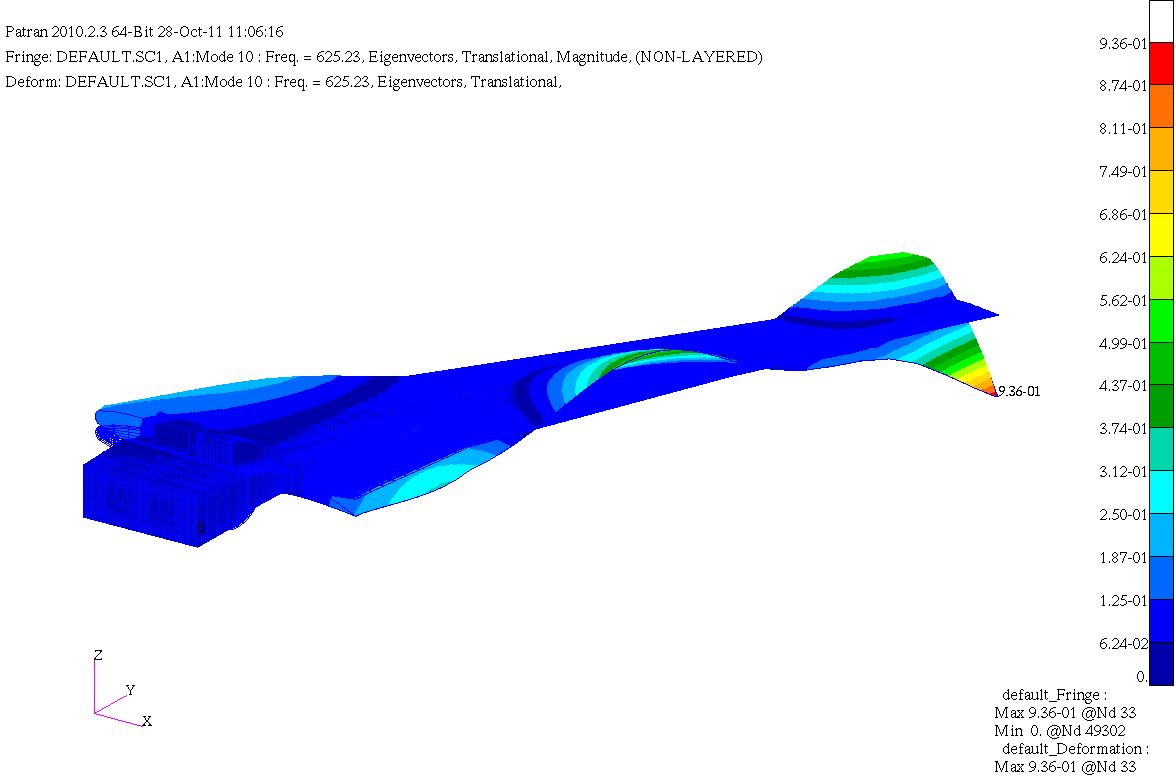
Mode 10 |
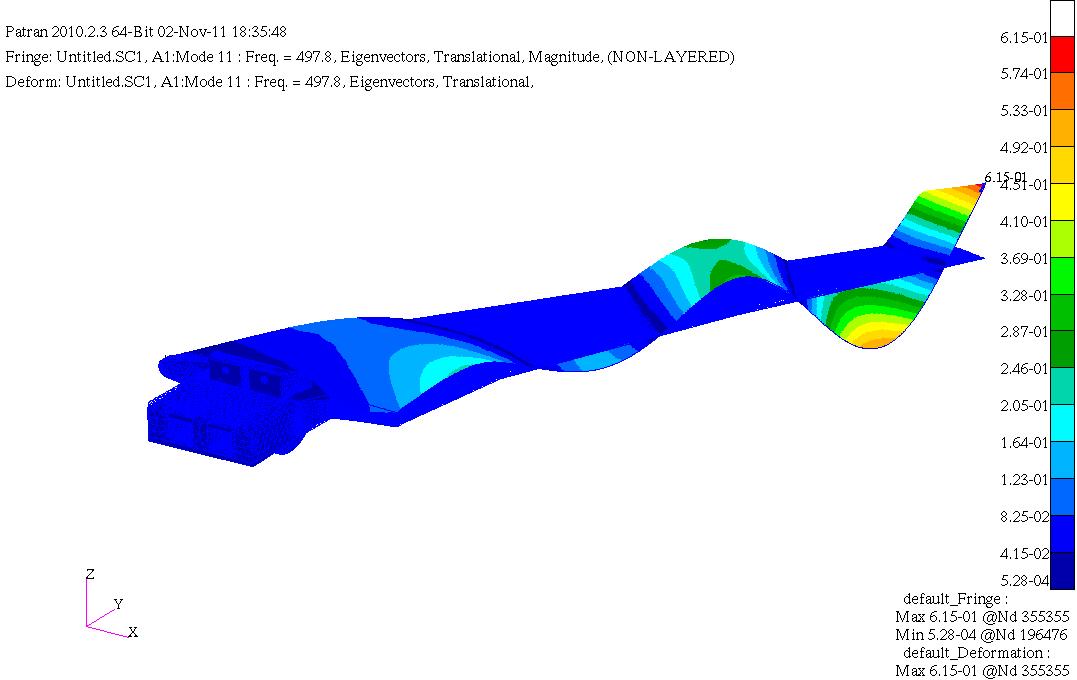
Mode 11 | |
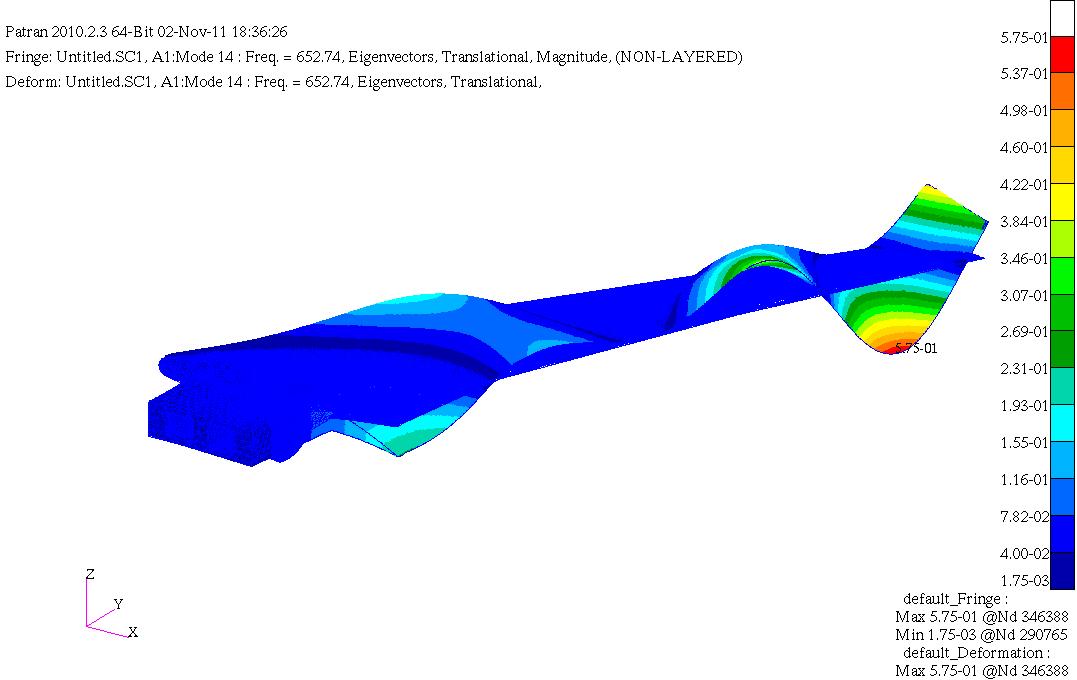
Mode 12 |
Resources
| Name | Format | Description | Link |
|---|---|---|---|
| 34 | image006.png | https://c3.nasa.gov/dashlink/static/media/dataset/image006.png | |
| 22 | ms_hex8_acc_1.jpg | https://c3.nasa.gov/dashlink/static/media/dataset/ms_hex8_acc_1.jpg | |
| 22 | ms_hex8_acc_7.jpg | https://c3.nasa.gov/dashlink/static/media/dataset/ms_hex8_acc_7.jpg | |
| 22 | ms_hex8_acc_8.jpg | https://c3.nasa.gov/dashlink/static/media/dataset/ms_hex8_acc_8_2.jpg | |
| 22 | ms_hex8_acc_9.jpg | https://c3.nasa.gov/dashlink/static/media/dataset/ms_hex8_acc_9.jpg | |
| 22 | tet_exciter3_ins_bolts_1.jpg | https://c3.nasa.gov/dashlink/static/media/dataset/tet_exciter3_ins_bolts_1.jpg | |
| 22 | tet_exciter3_ins_bolts_2.jpg | https://c3.nasa.gov/dashlink/static/media/dataset/tet_exciter3_ins_bolts_2.jpg | |
| 22 | tet_exciter3_ins_bolts_5.jpg | https://c3.nasa.gov/dashlink/static/media/dataset/tet_exciter3_ins_bolts_5.jpg | |
| 22 | tet_exciter3_ins_bolts_9.jpg | https://c3.nasa.gov/dashlink/static/media/dataset/tet_exciter3_ins_bolts_9.jpg | |
| 22 | tet_exciter3_ins_bolts_10.jpg | https://c3.nasa.gov/dashlink/static/media/dataset/tet_exciter3_ins_bolts_10.jpg | |
| 33 | TET_nov2011_modeshapes.pdf | https://c3.nasa.gov/dashlink/static/media/dataset/TET_nov2011_modeshapes_2.pdf | |
| 33 | Hex8_modeshapes.pdf | https://c3.nasa.gov/dashlink/static/media/dataset/Hex8_modeshapes.pdf | |
| 33 | TET_no_mc_modeshapes.pdf | https://c3.nasa.gov/dashlink/static/media/dataset/TET_no_mc_modeshapes.pdf | |
| 34 | image001.png | https://c3.nasa.gov/dashlink/static/media/dataset/image001_2.png | |
| 34 | image004.png | https://c3.nasa.gov/dashlink/static/media/dataset/image004.png | |
| 22 | tet_exciter3_ins_bolts_6.jpg | https://c3.nasa.gov/dashlink/static/media/dataset/tet_exciter3_ins_bolts_6.jpg | |
| 22 | tet_exciter3_ins_bolts_7.jpg | https://c3.nasa.gov/dashlink/static/media/dataset/tet_exciter3_ins_bolts_7.jpg | |
| 22 | ms_hex8_acc_4.jpg | https://c3.nasa.gov/dashlink/static/media/dataset/ms_hex8_acc_4.jpg | |
| 22 | ms_hex8_acc_5.jpg | https://c3.nasa.gov/dashlink/static/media/dataset/ms_hex8_acc_5.jpg | |
| 22 | ms_hex8_acc_10.jpg | https://c3.nasa.gov/dashlink/static/media/dataset/ms_hex8_acc_10.jpg | |
| 22 | tet_exciter3_ins_bolts_3.jpg | https://c3.nasa.gov/dashlink/static/media/dataset/tet_exciter3_ins_bolts_3.jpg | |
| 22 | tet_exciter3_ins_bolts_4.jpg | https://c3.nasa.gov/dashlink/static/media/dataset/tet_exciter3_ins_bolts_4.jpg | |
| 22 | tet_exciter3_ins_bolts_8.jpg | https://c3.nasa.gov/dashlink/static/media/dataset/tet_exciter3_ins_bolts_8.jpg | |
| 22 | ms_hex8_acc_8.jpg | https://c3.nasa.gov/dashlink/static/media/dataset/ms_hex8_acc_8.jpg | |
| 22 | ms_hex8_acc_3.jpg | https://c3.nasa.gov/dashlink/static/media/dataset/ms_hex8_acc_3.jpg | |
| 22 | ms_hex8_acc_6.jpg | https://c3.nasa.gov/dashlink/static/media/dataset/ms_hex8_acc_6.jpg | |
| 22 | ms_hex8_acc_2.jpg | https://c3.nasa.gov/dashlink/static/media/dataset/ms_hex8_acc_2.jpg |
Tags
- dashlink
- nasa
- ames